Thrifty Restore
Posted on December 30, 2014
This time of year, furniture stores across America advertise new furniture at, what promises to be, deep discounted prices. But, you can still get the biggest bang for your furniture buck from thrift stores. Just because your furniture came from the thrift store, doesn’t mean it has to look discounted. Check out how Patricia spruced up her thrift store find with a few supplies and these easy steps.
 Supplies Needed:
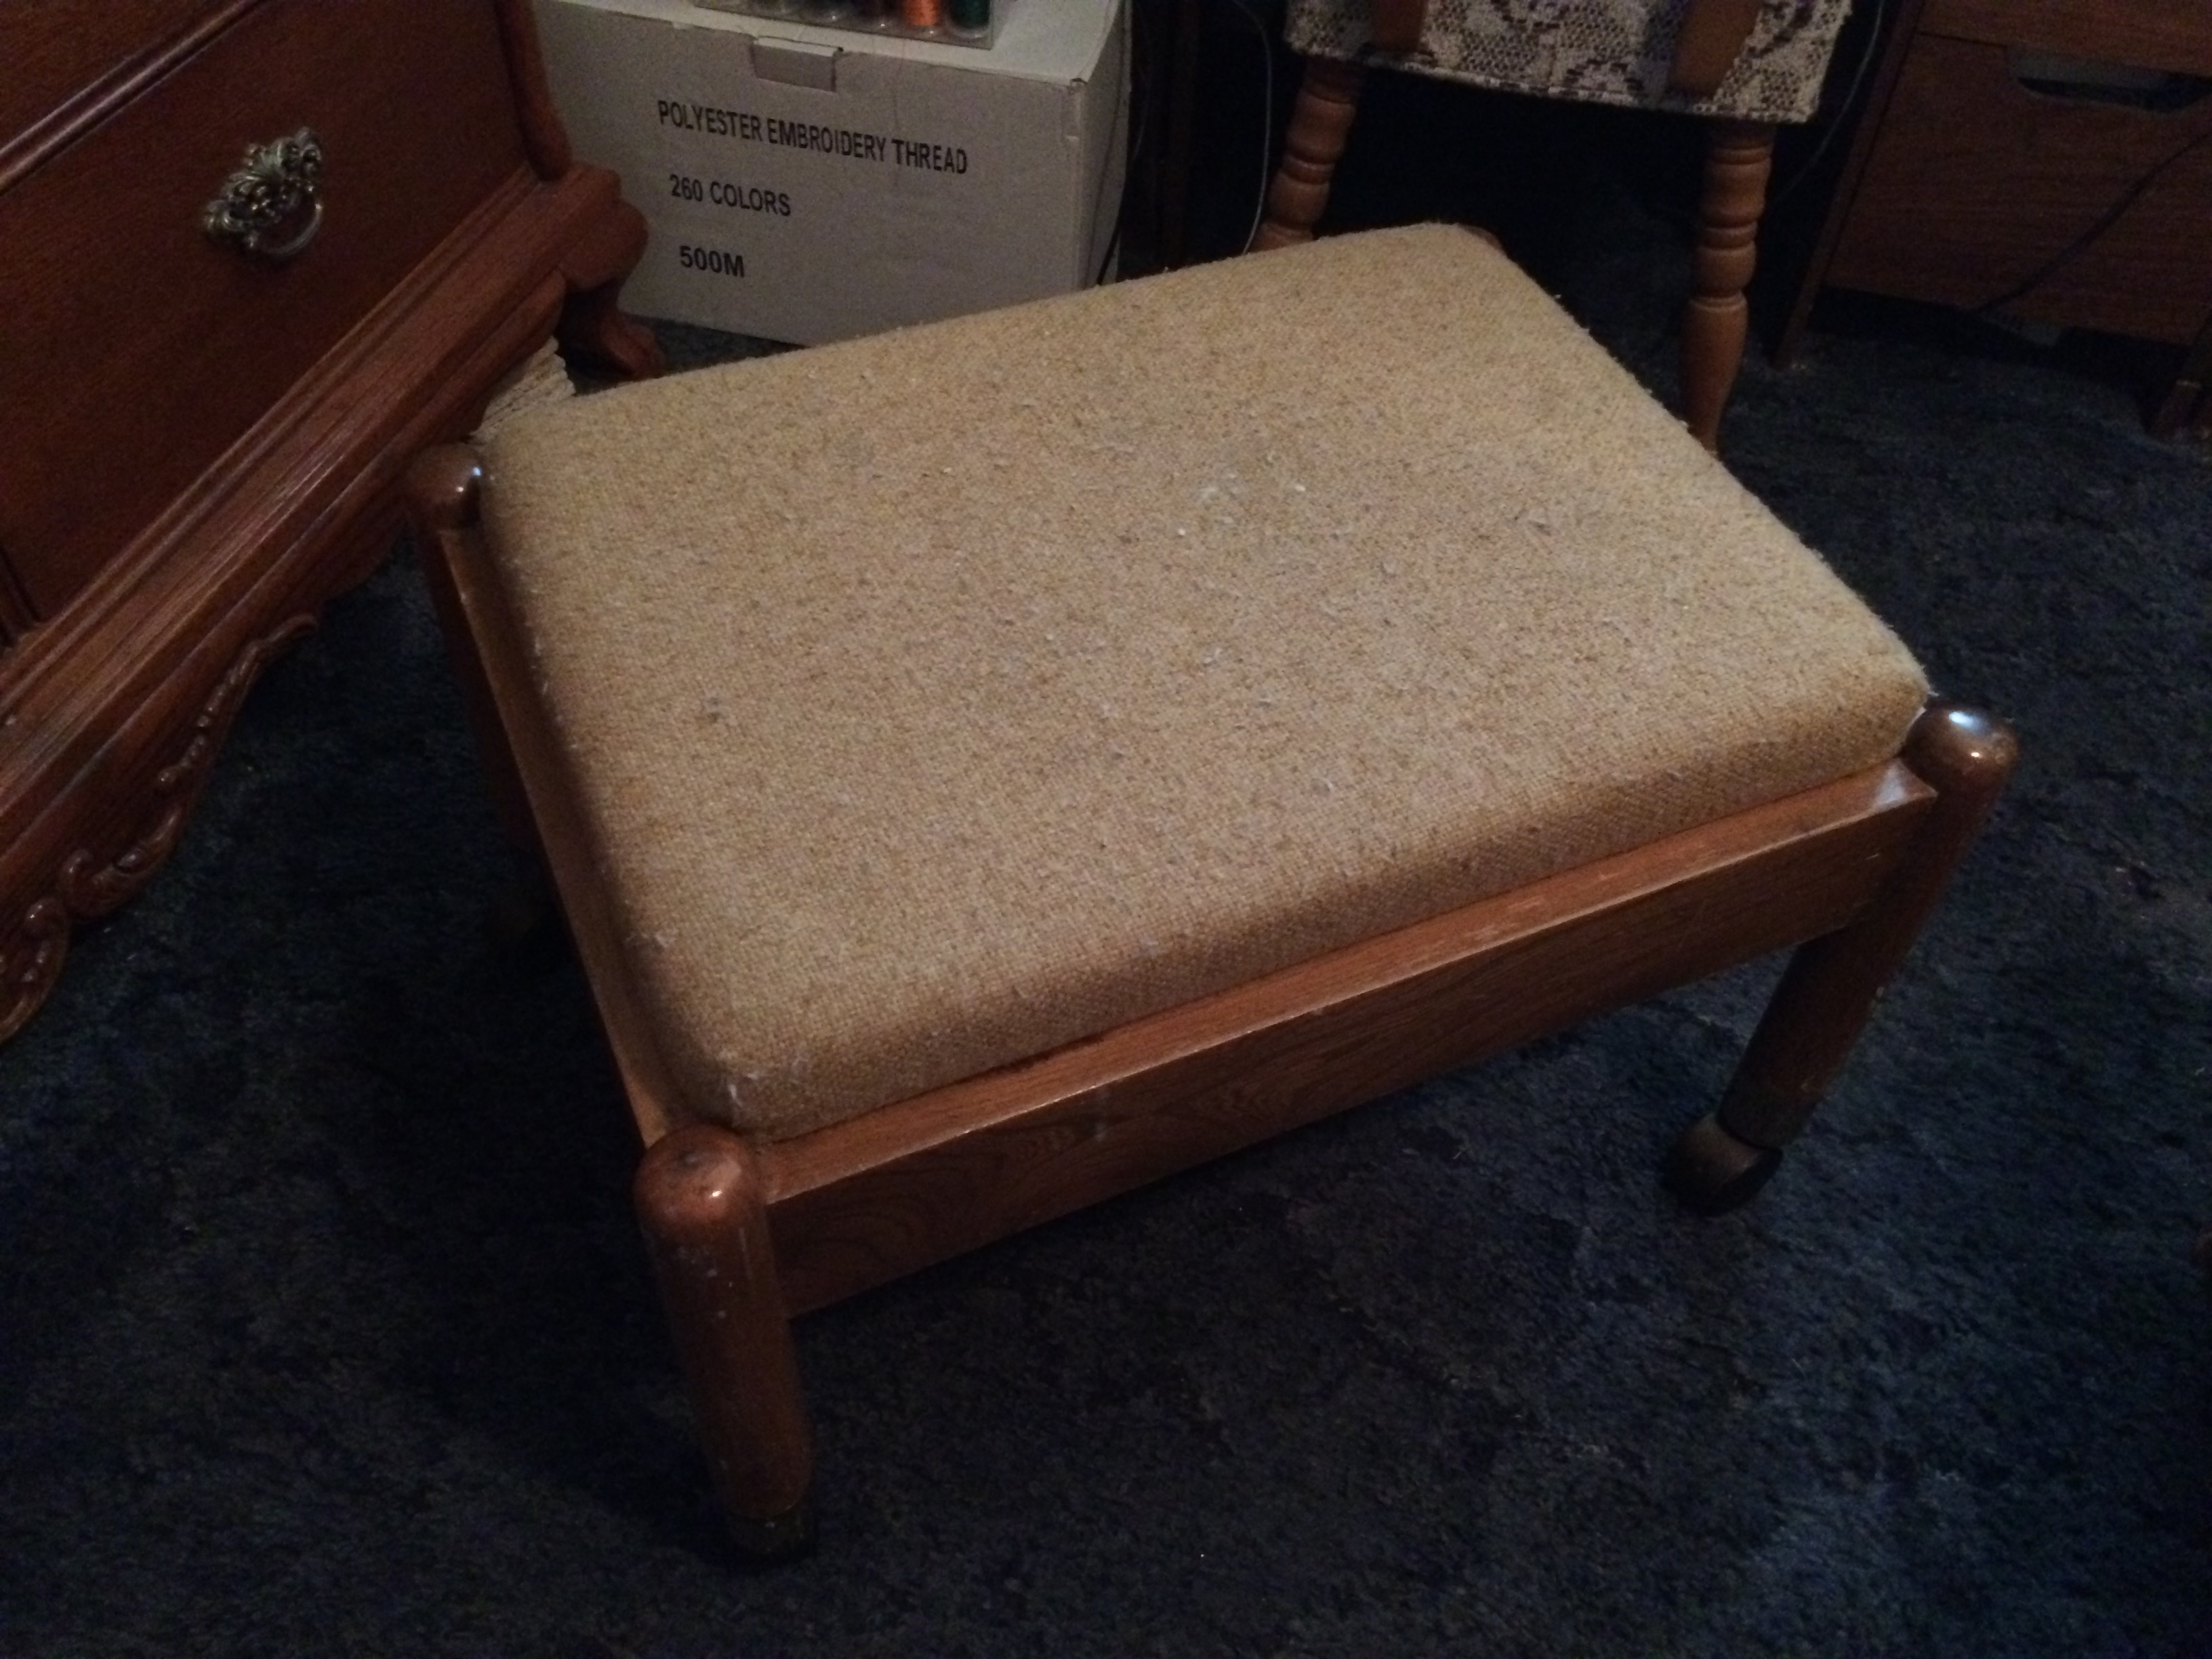
Ottoman
Jewelry Pliers
Light Duty Staple Gun
Sample of Valspar Paint
Paintbrush
Fabric (Enough to cover the ottoman)
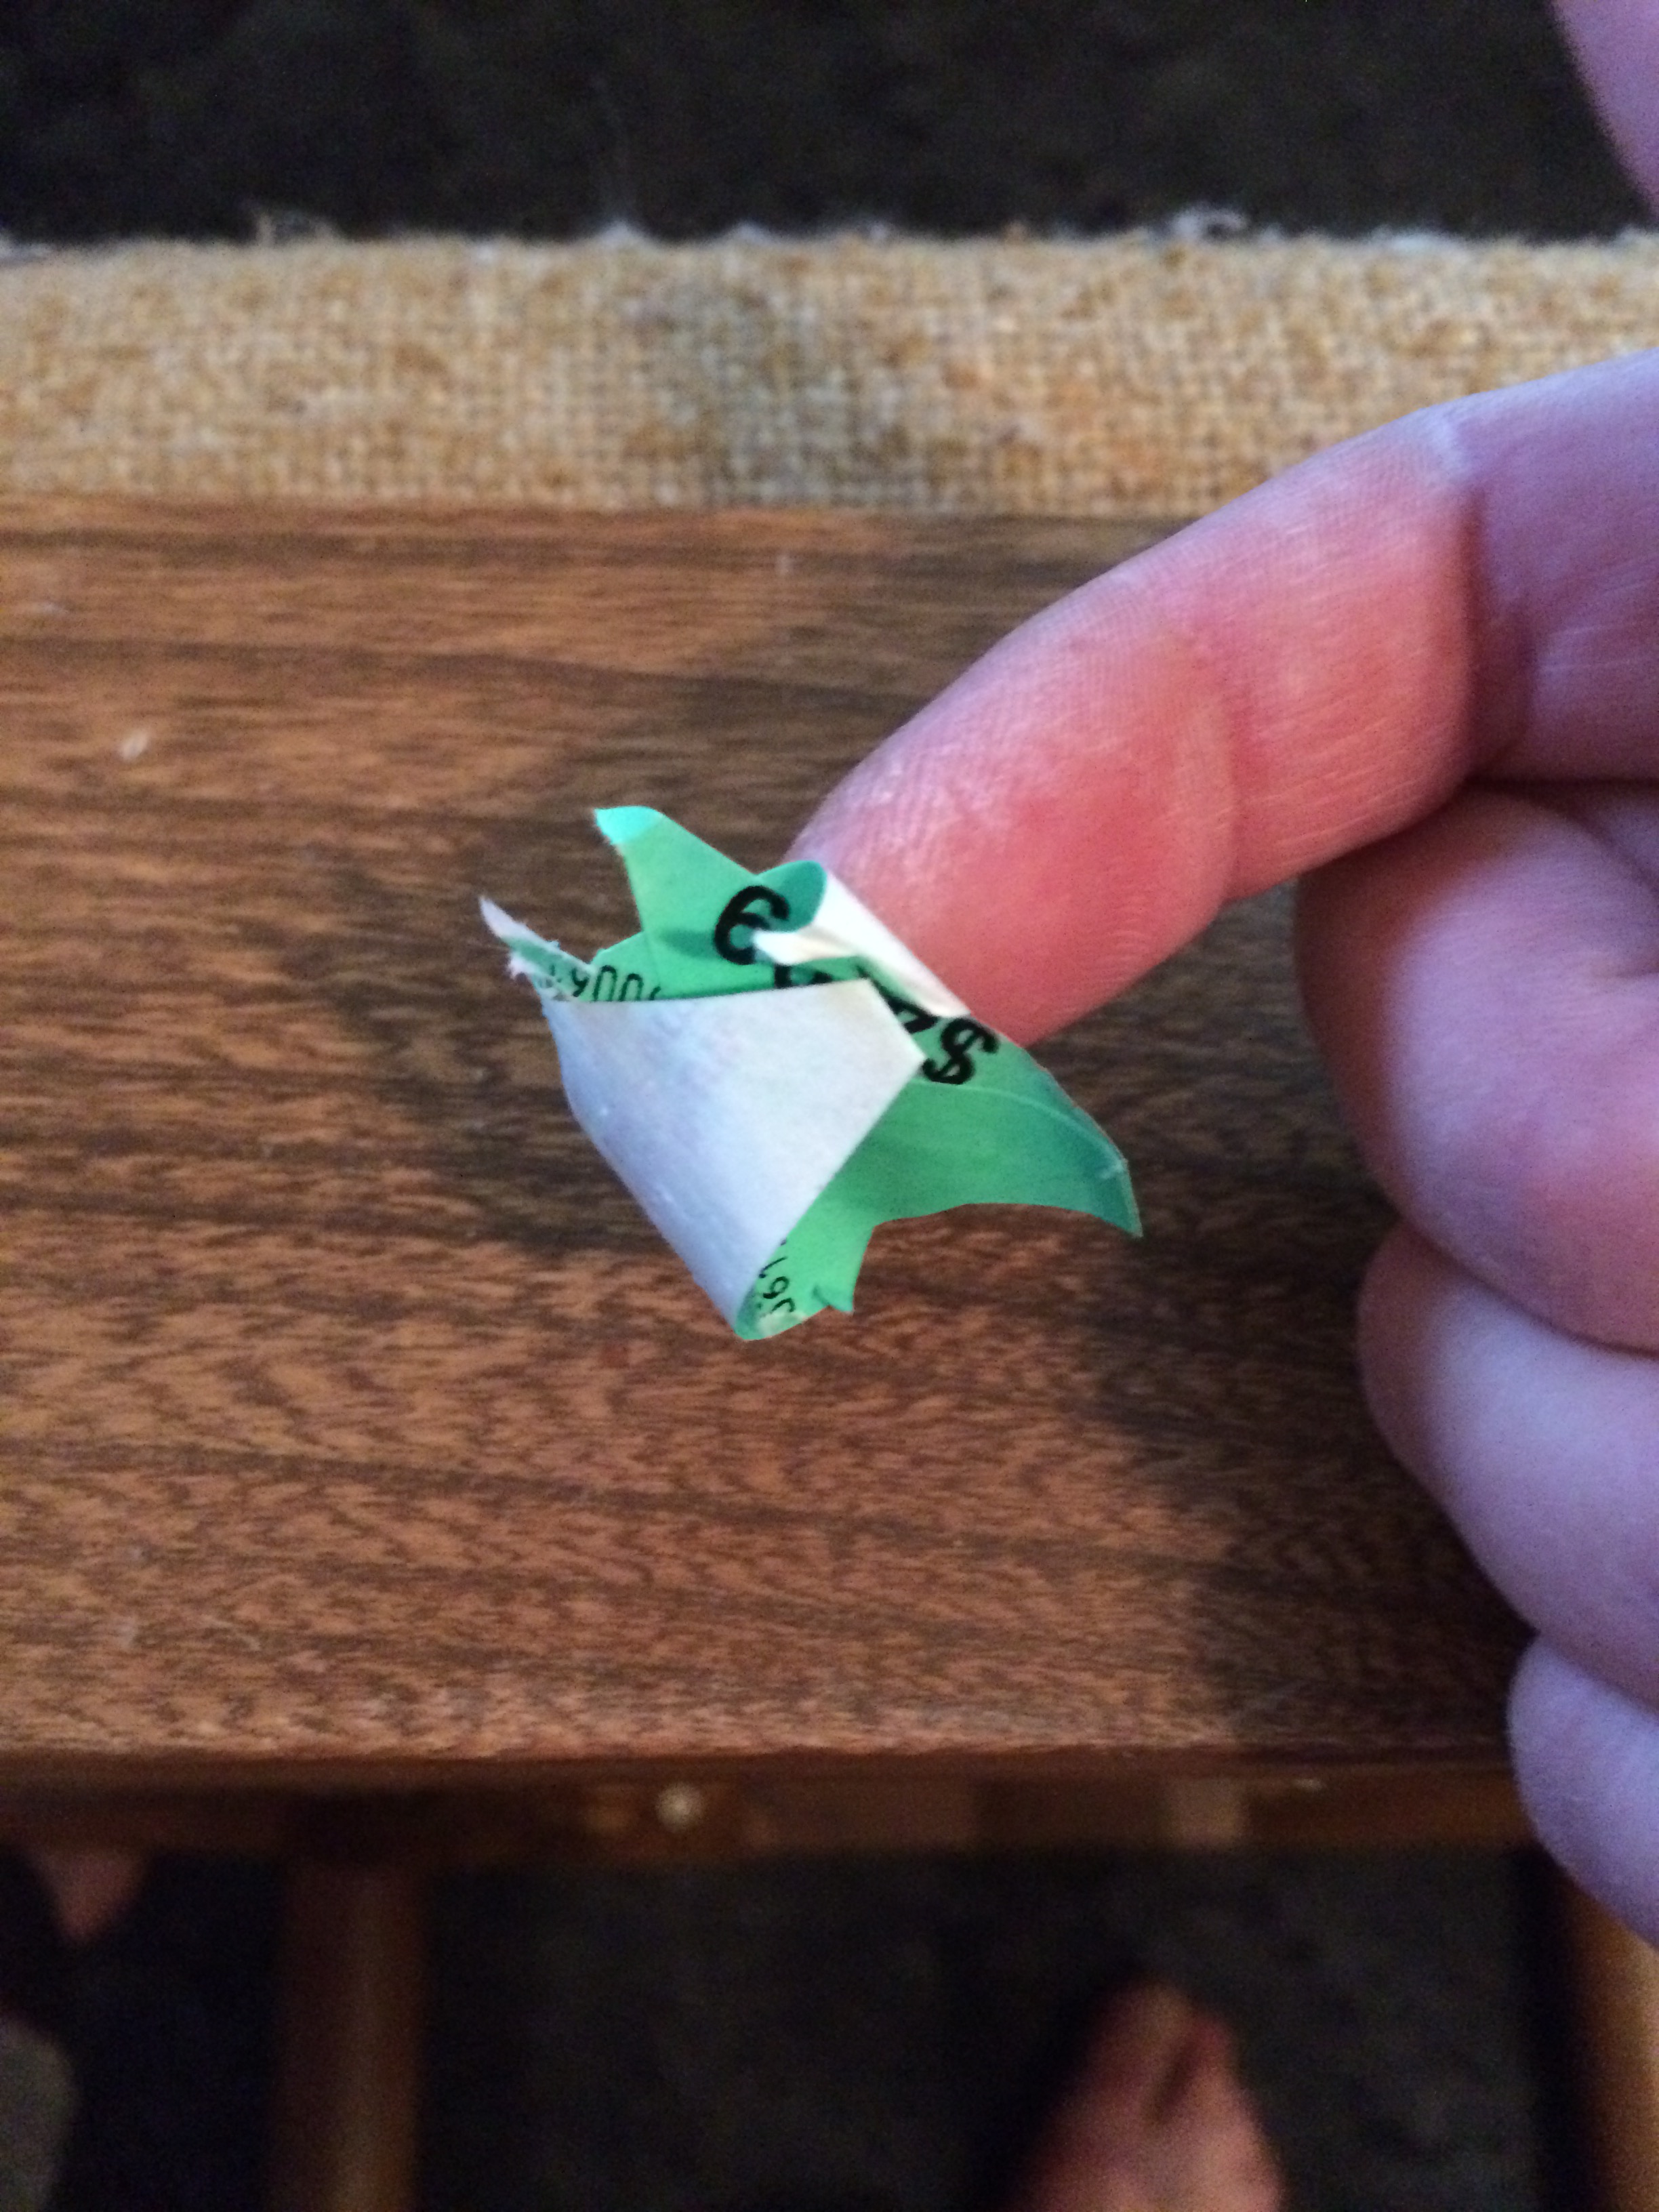
1. Remove price sticker. (Tip: Sometimes the stickers come off clean but, if it doesn’t, you can use dish soap and a rag to remove the remnants. Make sure you then use a clean rag to remove any dish soap residue which may interfere with the painting.)
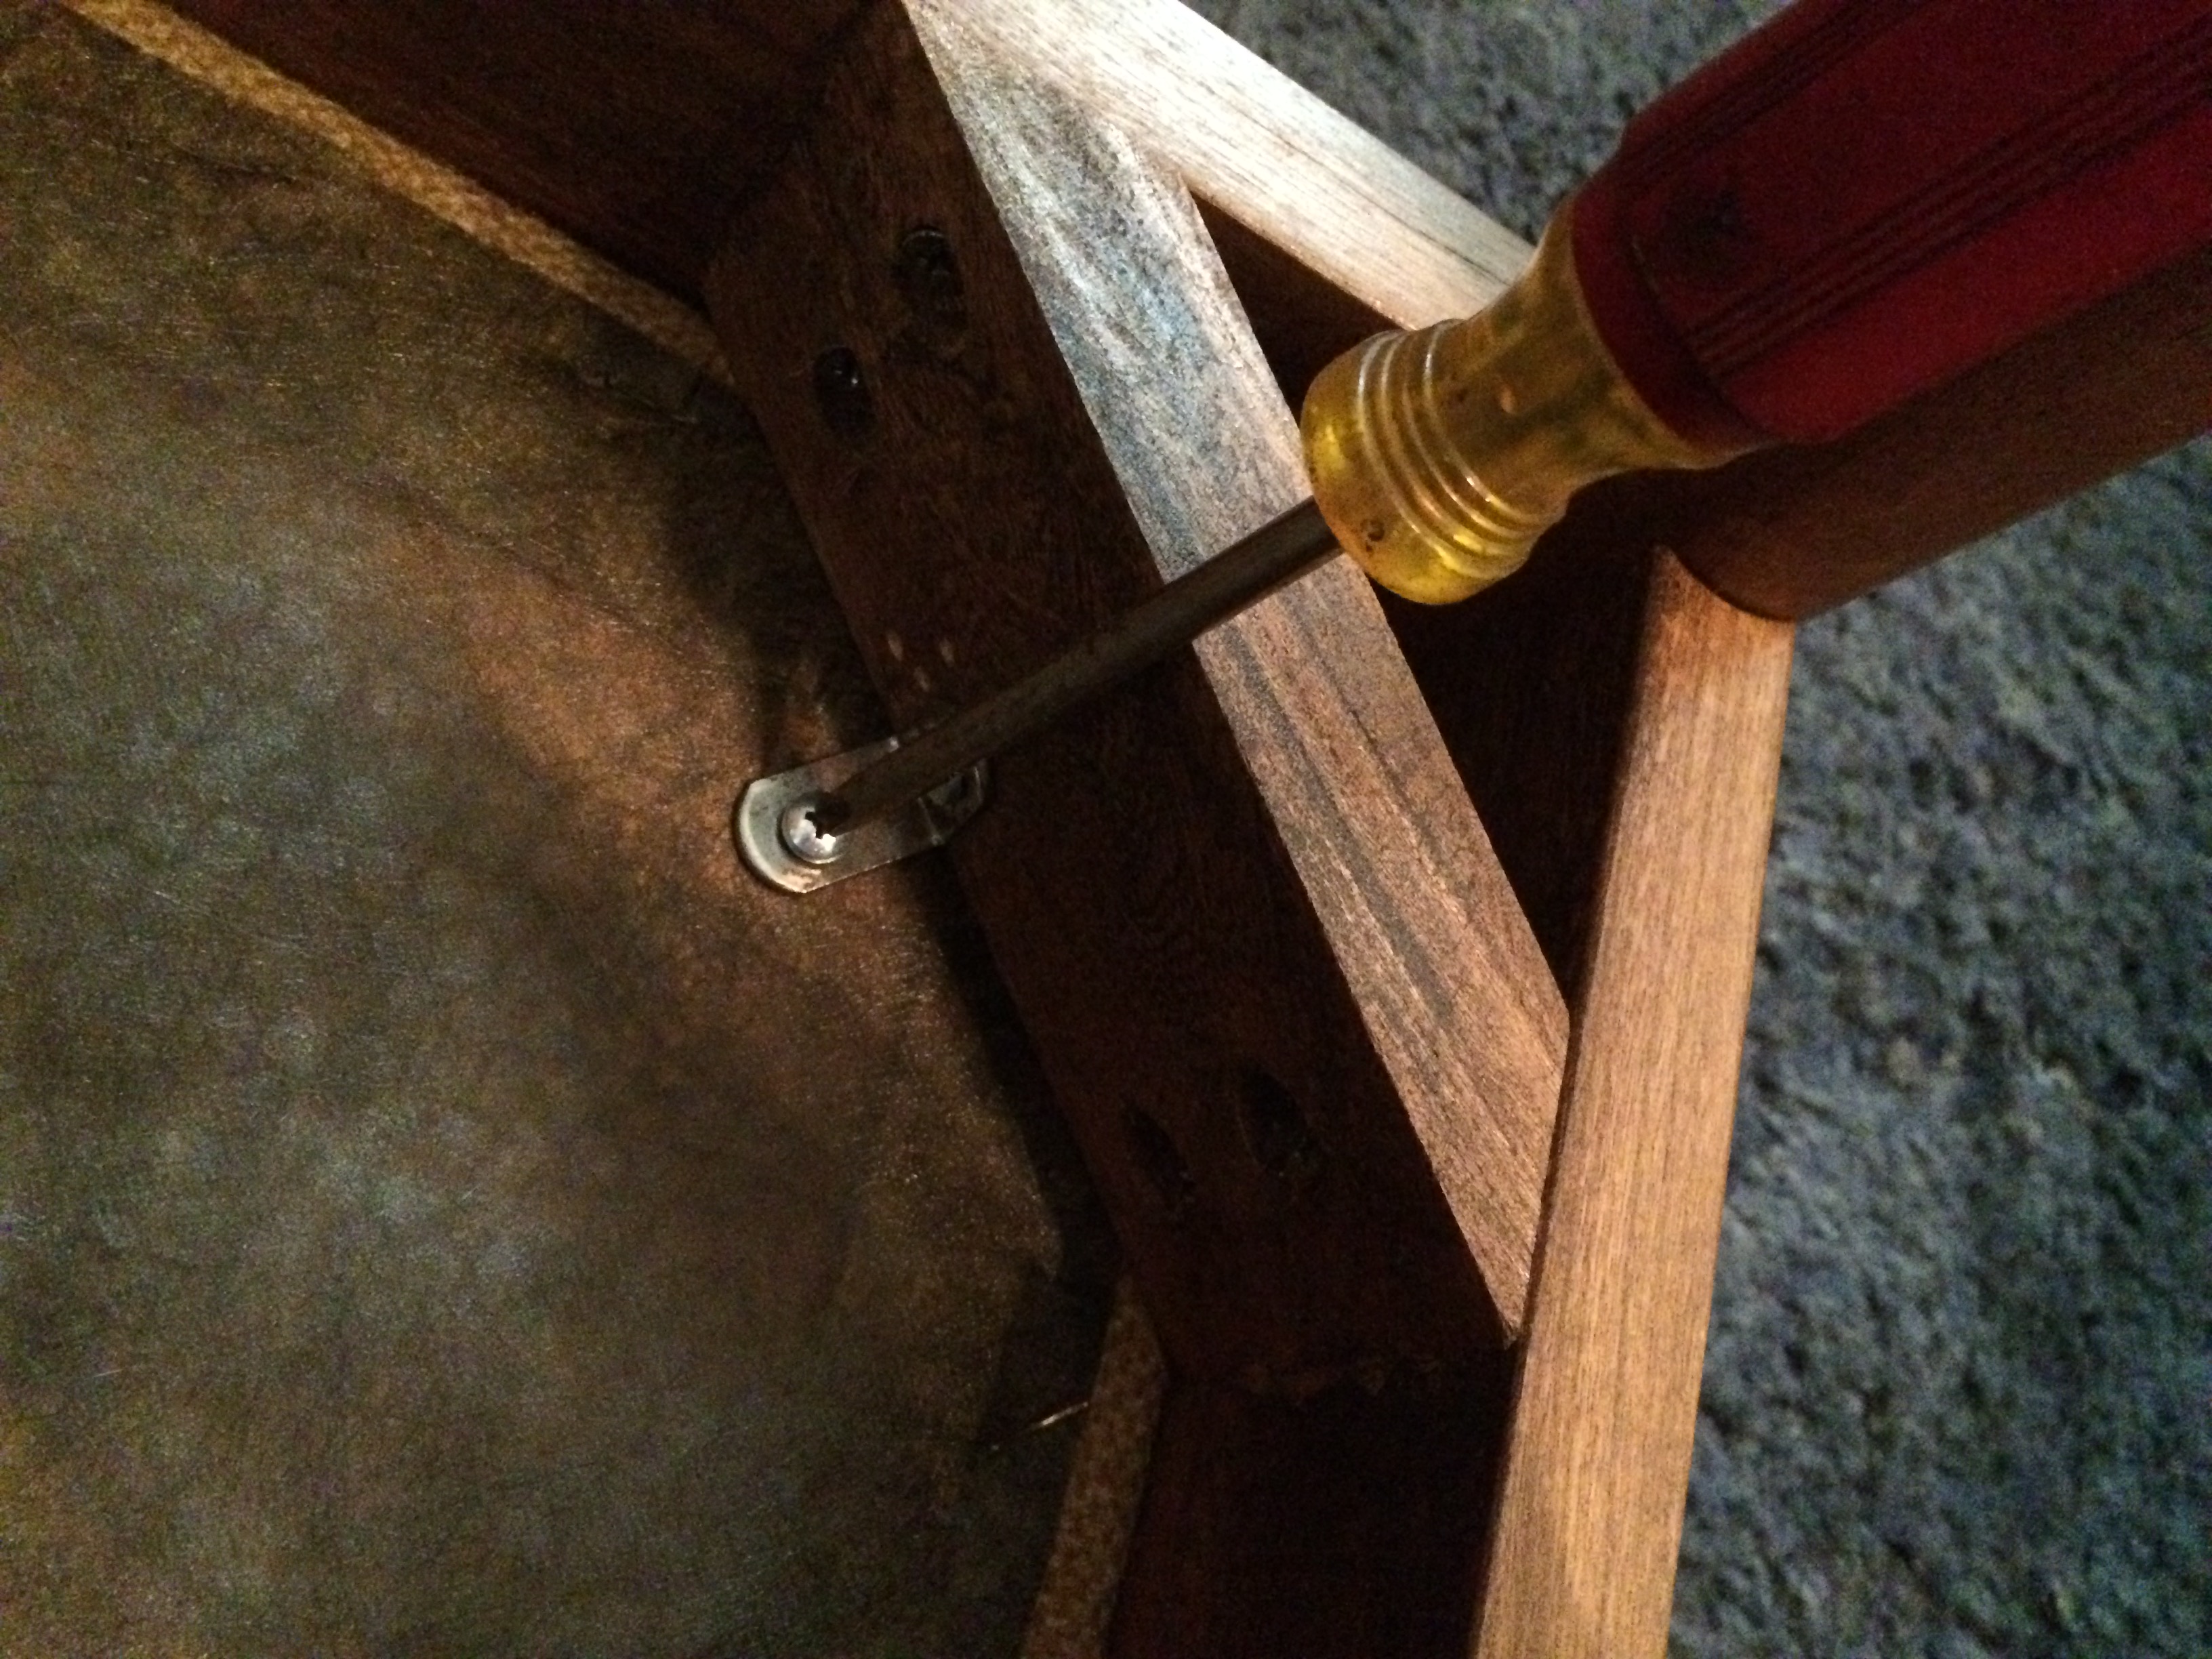
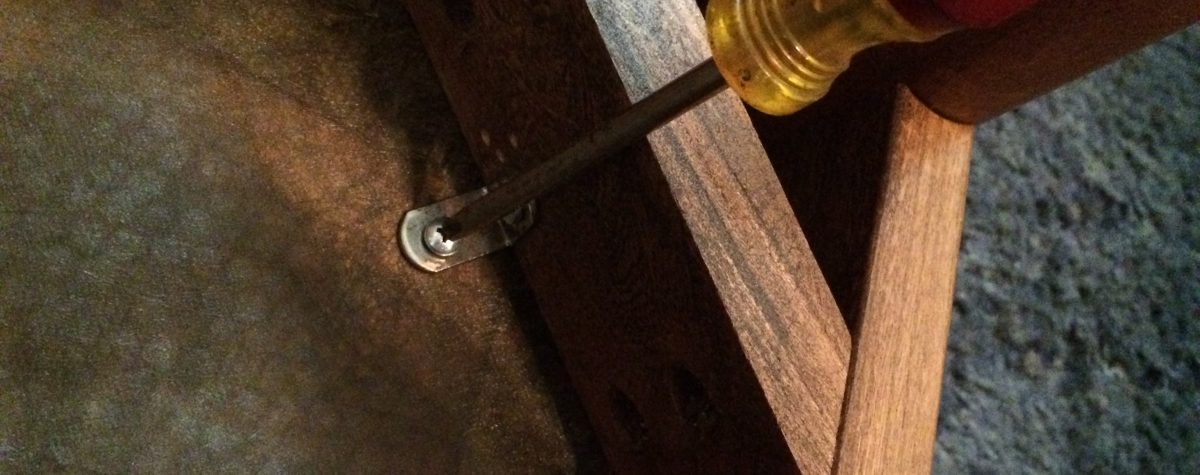
2. Find the screws holding the seat cushion and remove them.
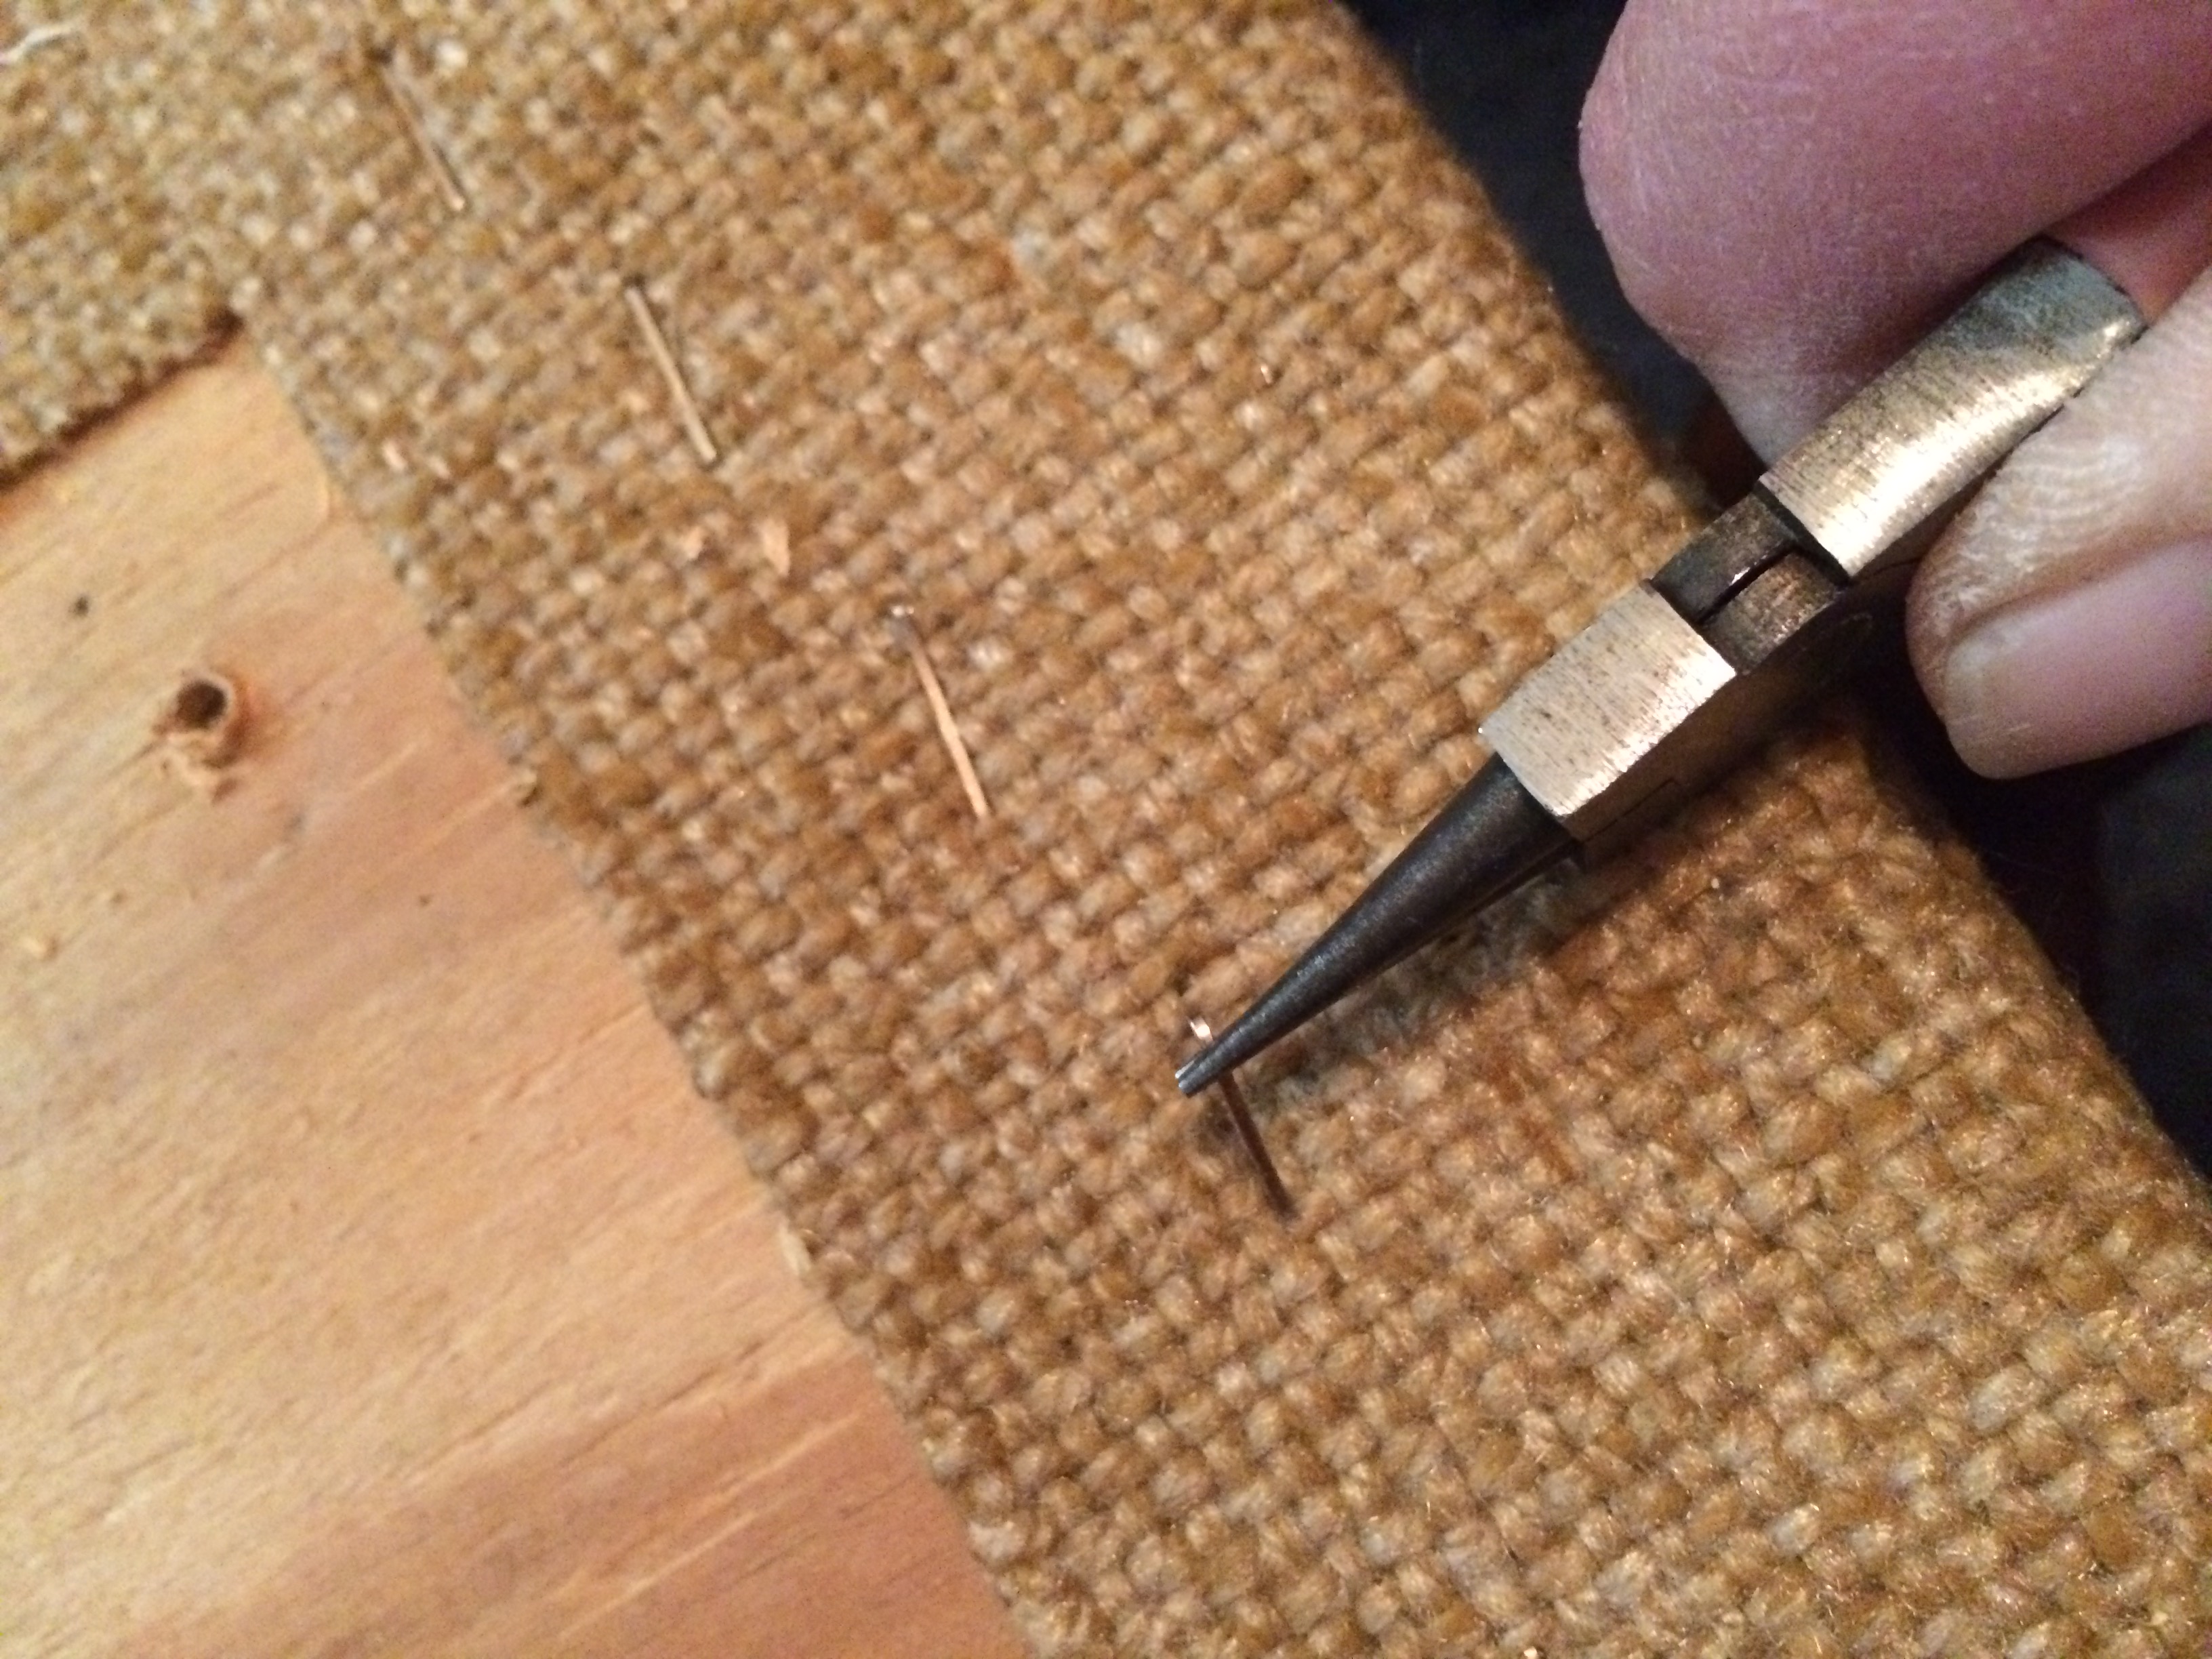 3. Remove the staples from the blackout, try not to damage the blackout so it can be reused. (Tip: Use jewelry pliers because they are small enough to get under the heavy duty staples and make it easier to remove them.)
4. Remove a few staples from the material. Then use pliers to rip the fabric from the seat. Go back and remove any staples that remain.
 5. Check the foam to make sure it can be reused. It should be free of any stains and holes.
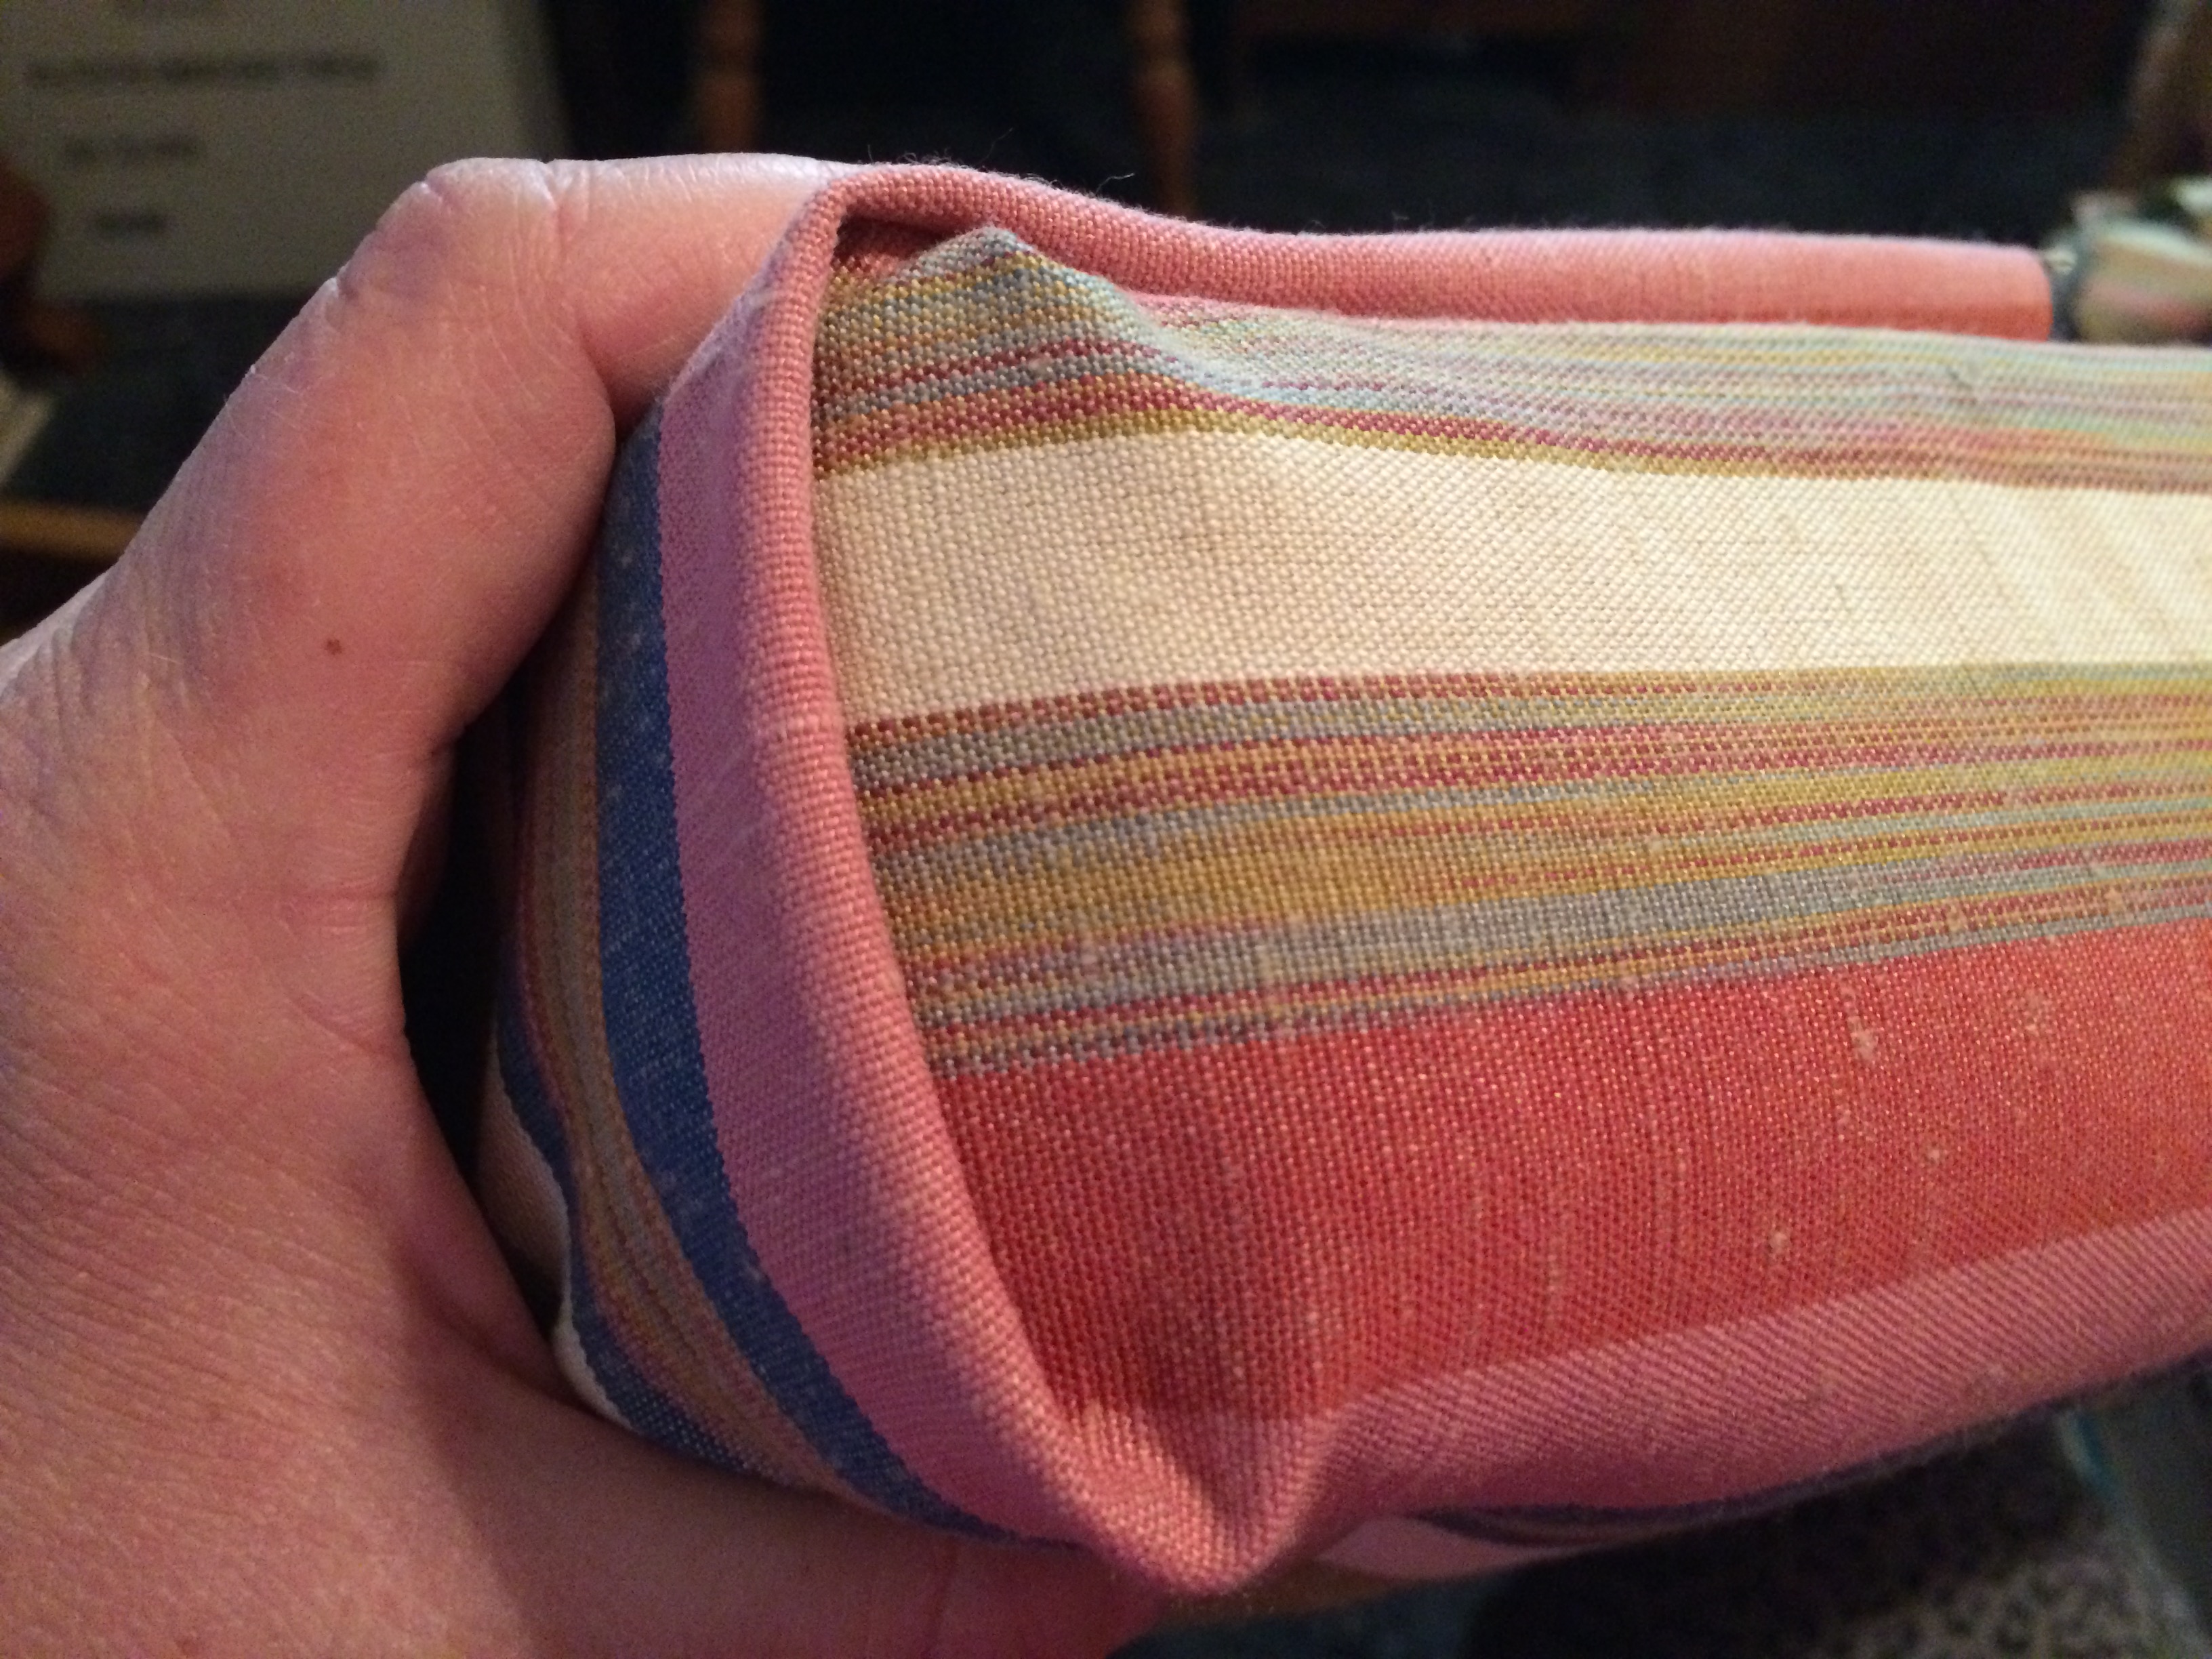
6.To secure the fabric to the ottoman, lay it over the foam cushion and cut a generous amount around all sides. Flip the ottoman over. On the short sides, fold the edge of the fabric under (this helps prevent fraying of the fabric). Make sure the holes for the screws are not covered by fabric. Using the light duty staple gun, staple down the fabric on the short sides.
7. Tuck the corners in slightly and bring the long sides over to the back. If the sides are too long, cut them as needed. Fold over the edge and staple down. Place the ottoman back inside the frame to make sure all looks good.
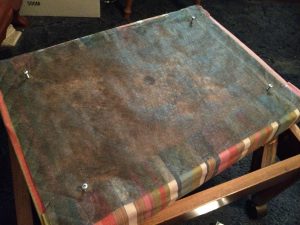 8.Take the blackout that was saved in step 3 and staple it down. To make sure it lines up correctly, put the screws in place, it also helps line up the holes while the blackout was stapled down.
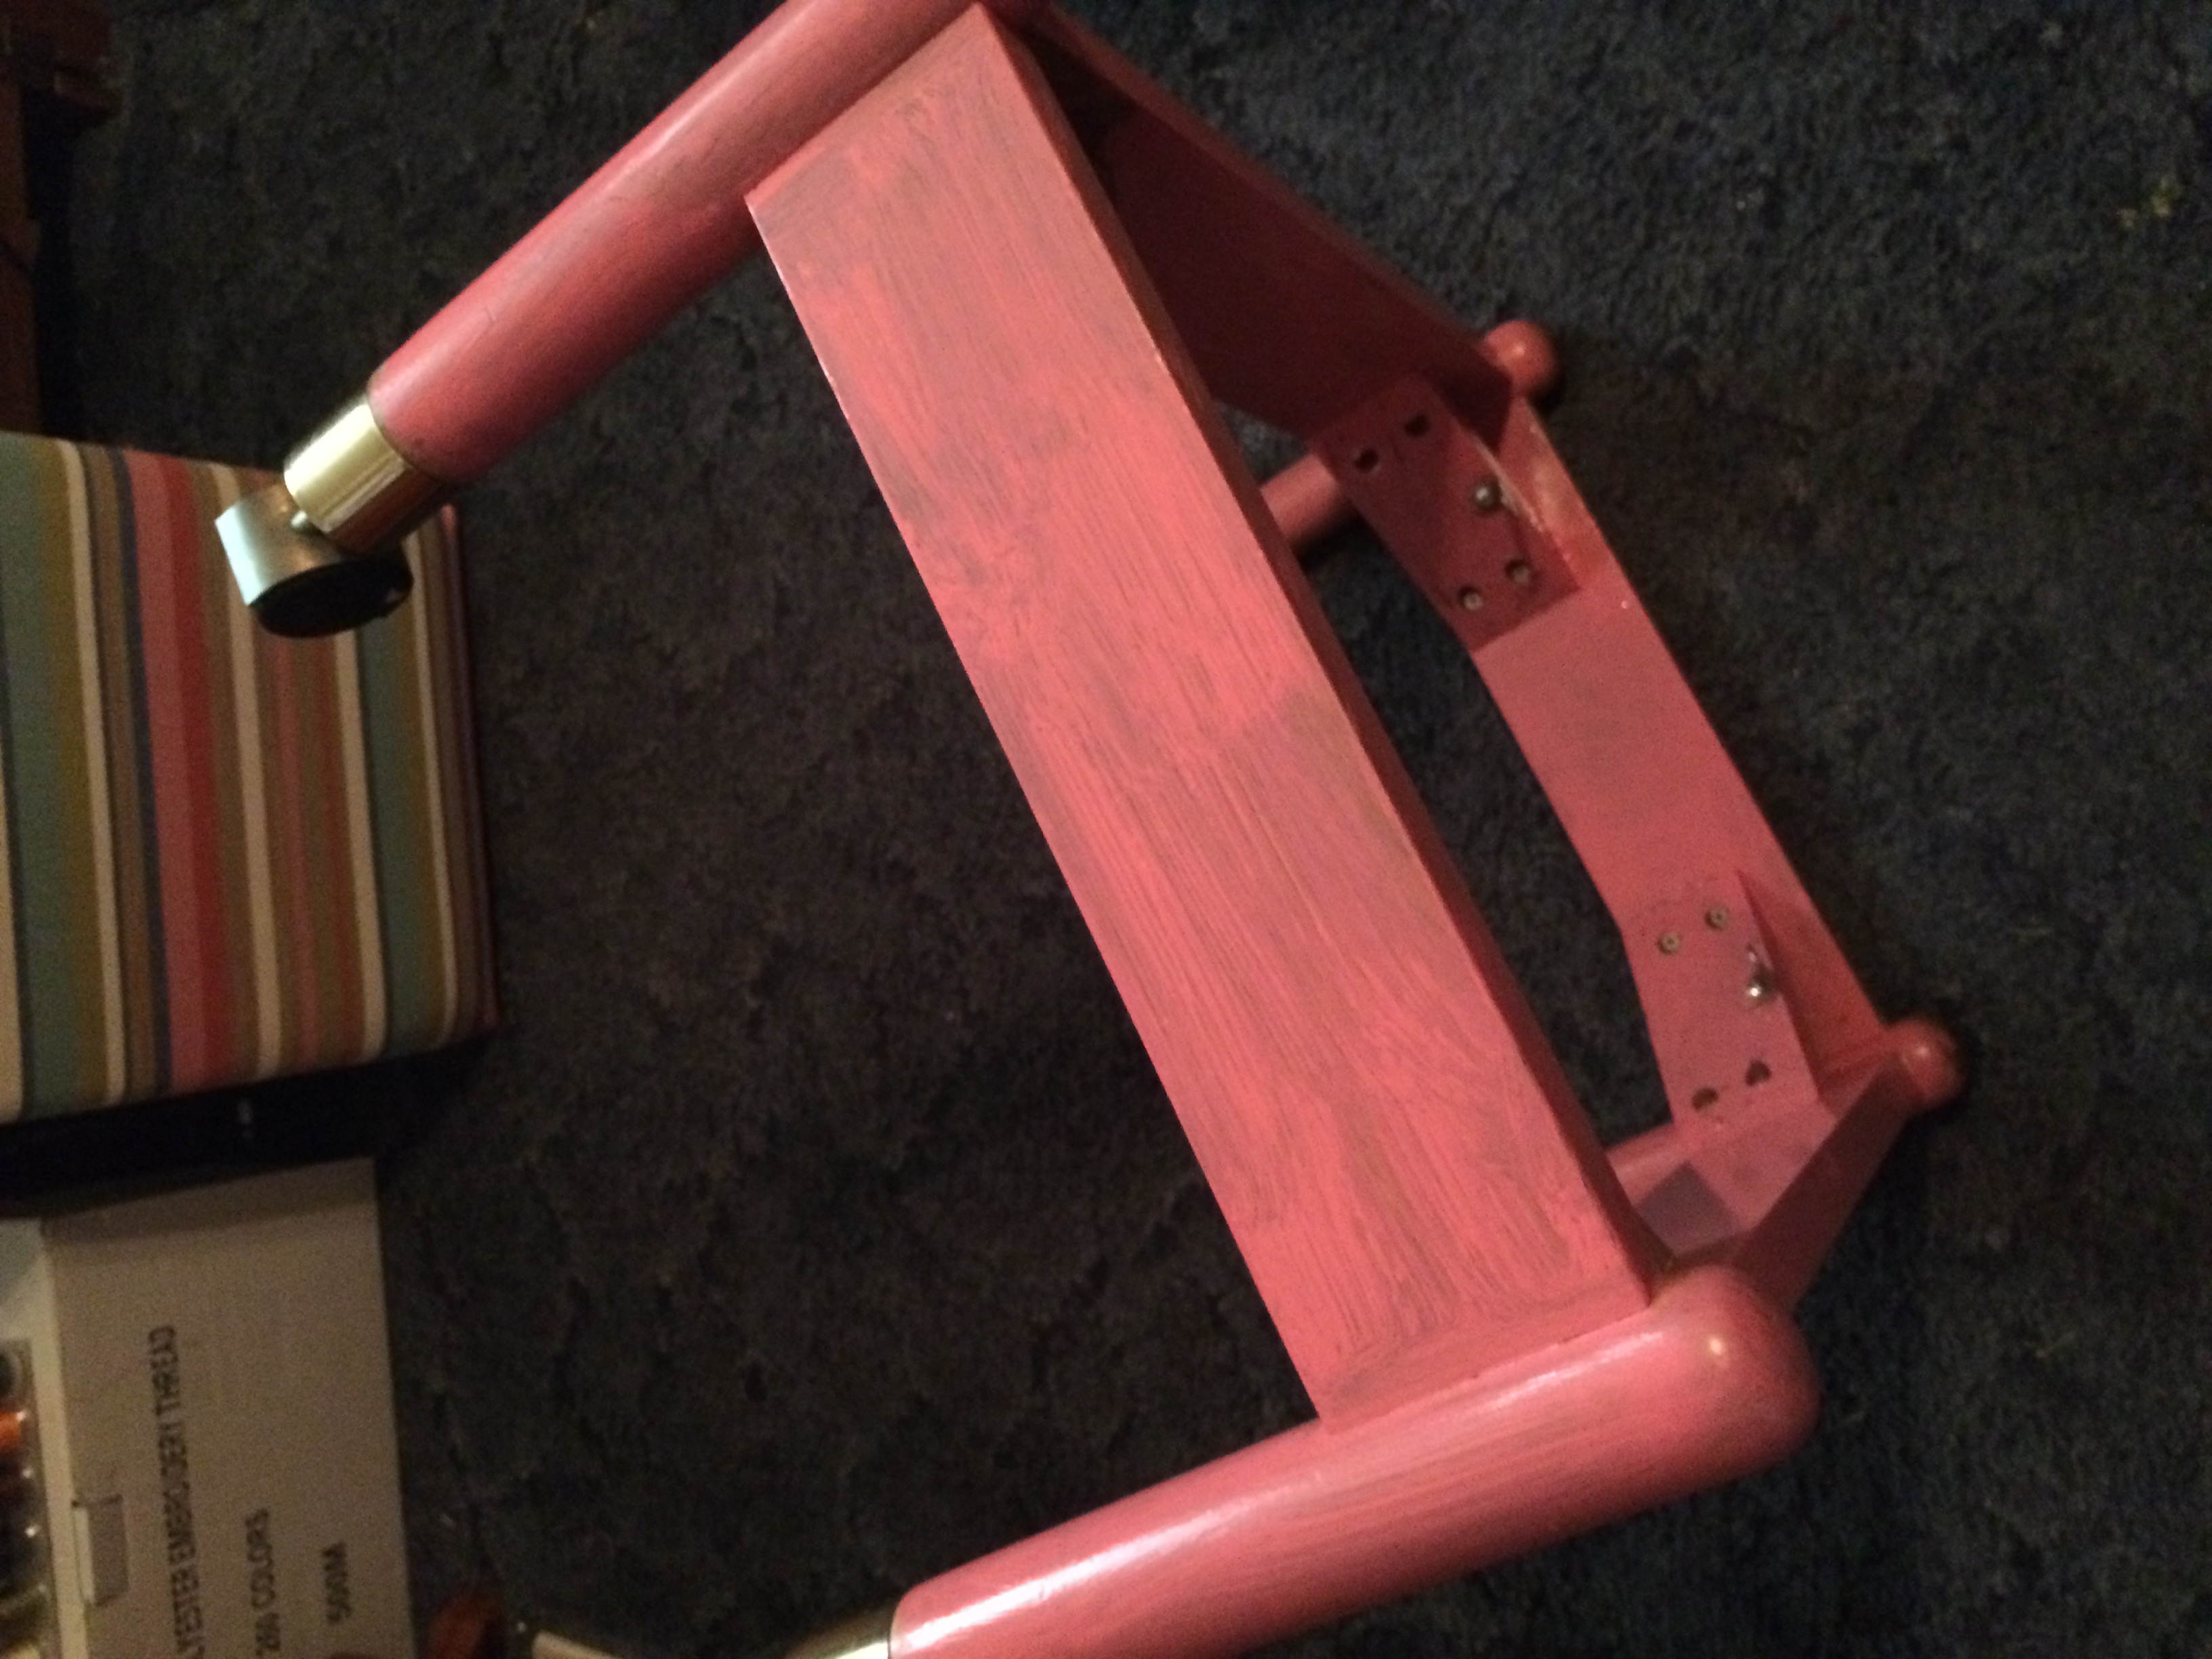 9. Paint the frame using your sample paint. It takes about two coats of paint to finish the frame, so you will have plenty of leftover paint for your next project. Allow the paint to dry in between coats.
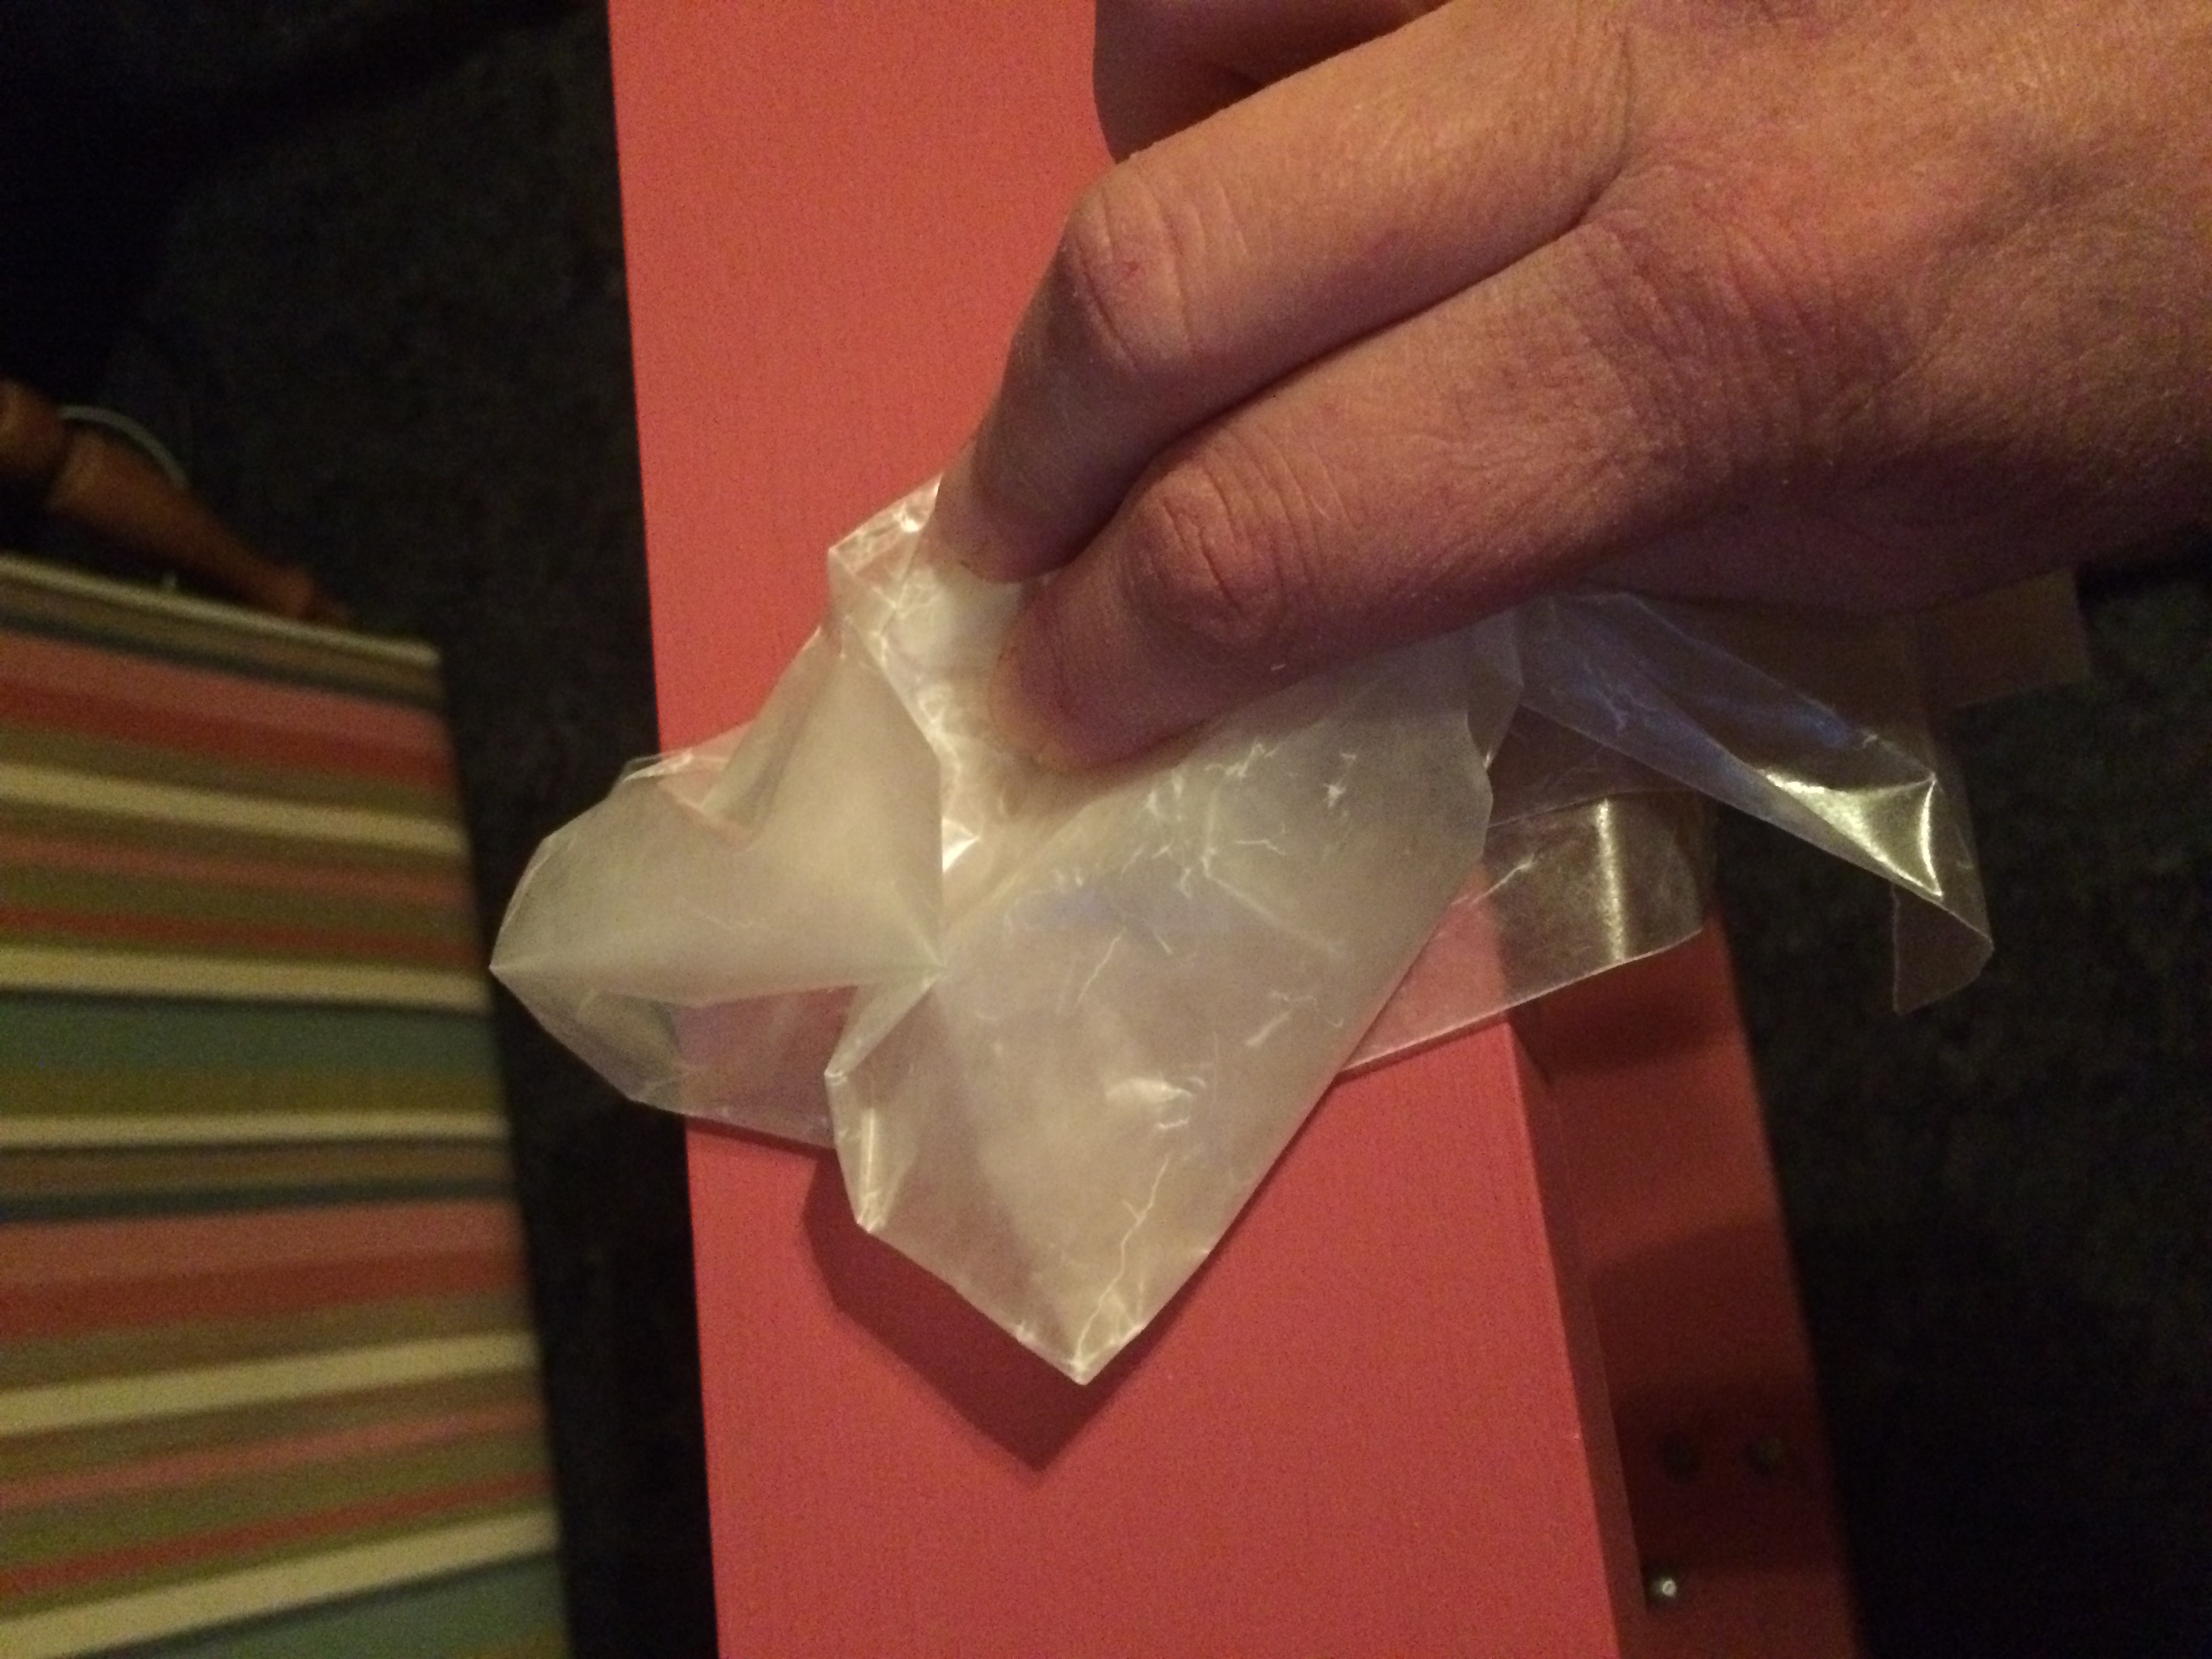 10. Once the second coat is dry, use wax paper to seal in the paint. Yes, wax paper. The wax provides a shiny finish and helps smooth out paint strokes. Only a little rubbing is needed but you can get a higher shine and more professional appearance the longer the paint is rubbed with wax paper.
11. To complete, place the foam cushion upside down on the floor with the frame on top of it. Screw the frame to the cushion.
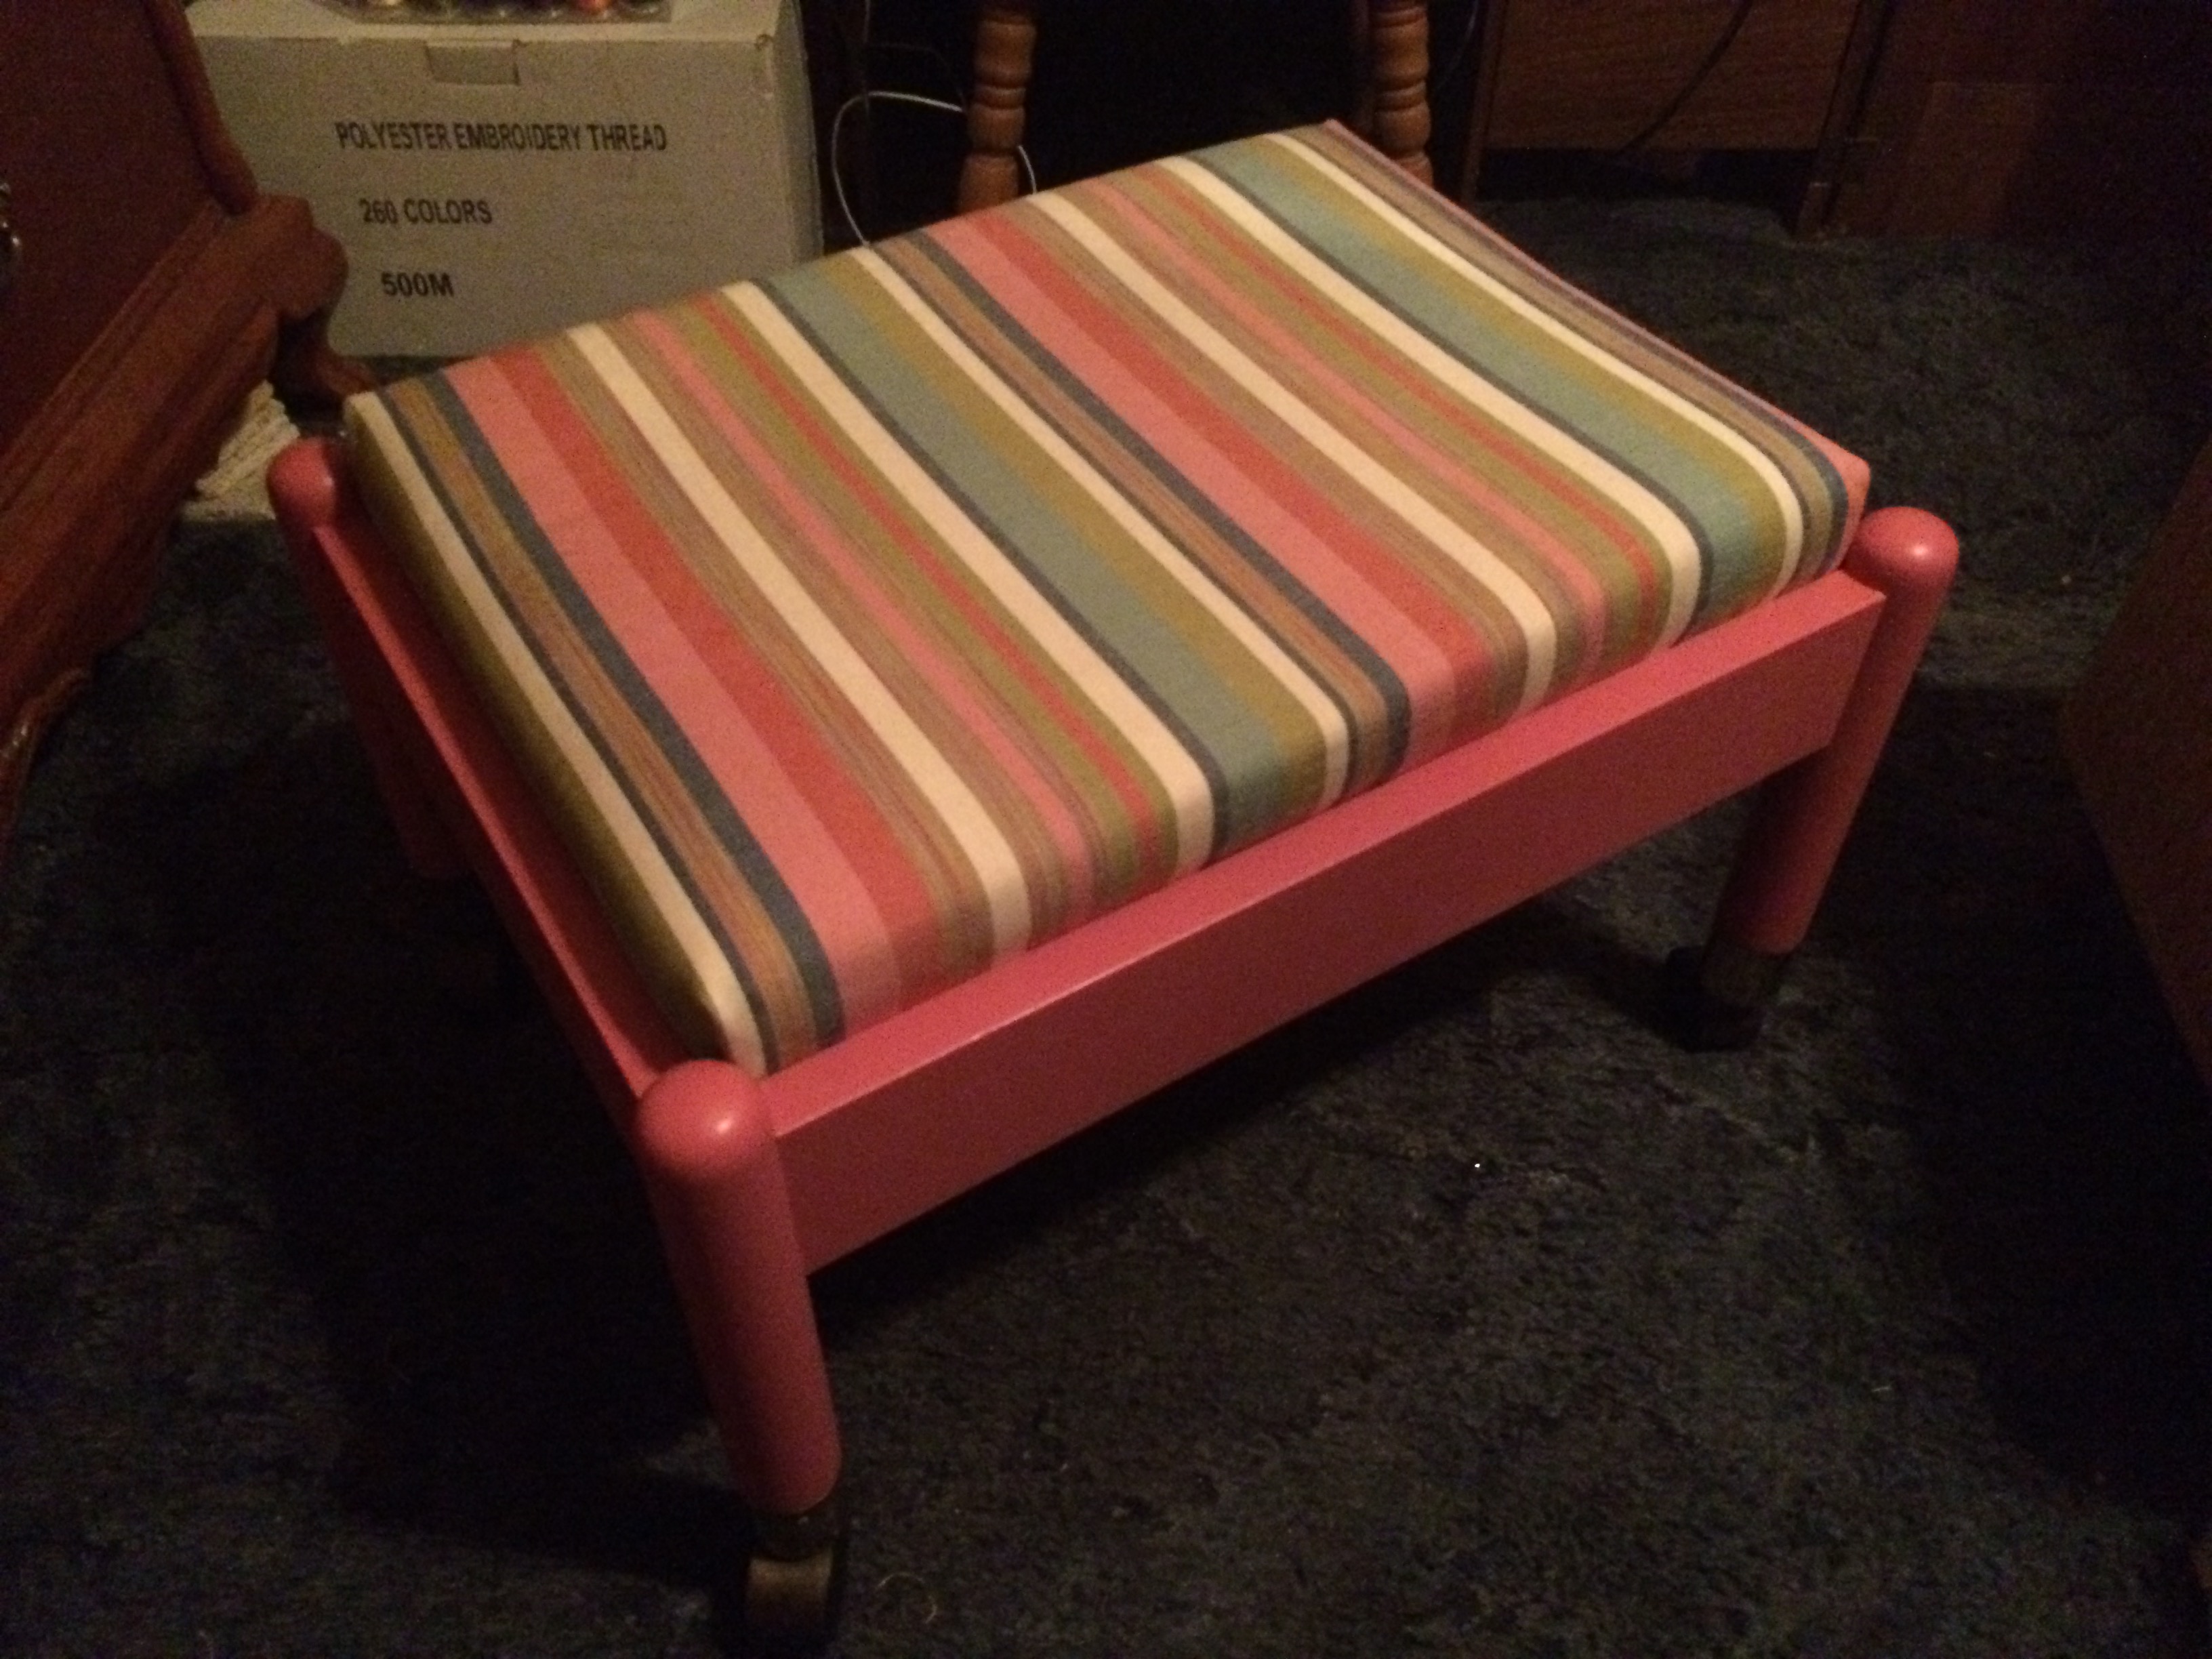 Here’s the finished project! This method, perfect for restoring chairs and benches as well, is great for creating unique furniture that will match your decor. Just a few easy steps is all it takes to make something old into something new!
*Patricia is the Performance Improvement and Training Manager at America’s Thrift Stores.